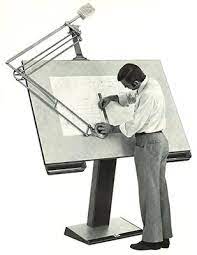
Drawing instruments are used to draw straight lines ,circles , and curves accurately concisely


The drawing tools are like drawing board, mini drafter, instrument box containing compass,divider etc,.. set squares,protractor,french curves, drawing sheet,pencils,erasers…..
DRAWING STANDARDS
● Drawing standards are set of rules that govern how the technical drawings are represented
● these are used so that everyone can commonly understand the meaning of drawn picture
Drawing sheet
we have many types and sizes of drawing sheets.. like A4,A3,A2,A1,A0 etc


while in the drawing sheet .. first we have to draw border lines and title box and then we have to start drawing


lettering
lettering and numbering should be in a perfect manner.. for example in this figure.. the upper and lower case letters are neatly draw


lines and its types
basically lines which are used in the representation of the diagrams are of mainly 4 types they are
● Visible line : represent features that can be seen in the current view
● Dimension line ;Extension line;Leader line: indicate the sizes and location of features
● Hidden line : represent features that can not be seenin the current view
● Center line: represents symmetry, path of motion, centers of circles, axis of axisymmetrical parts

In this way we use different types of lines in the drawing


