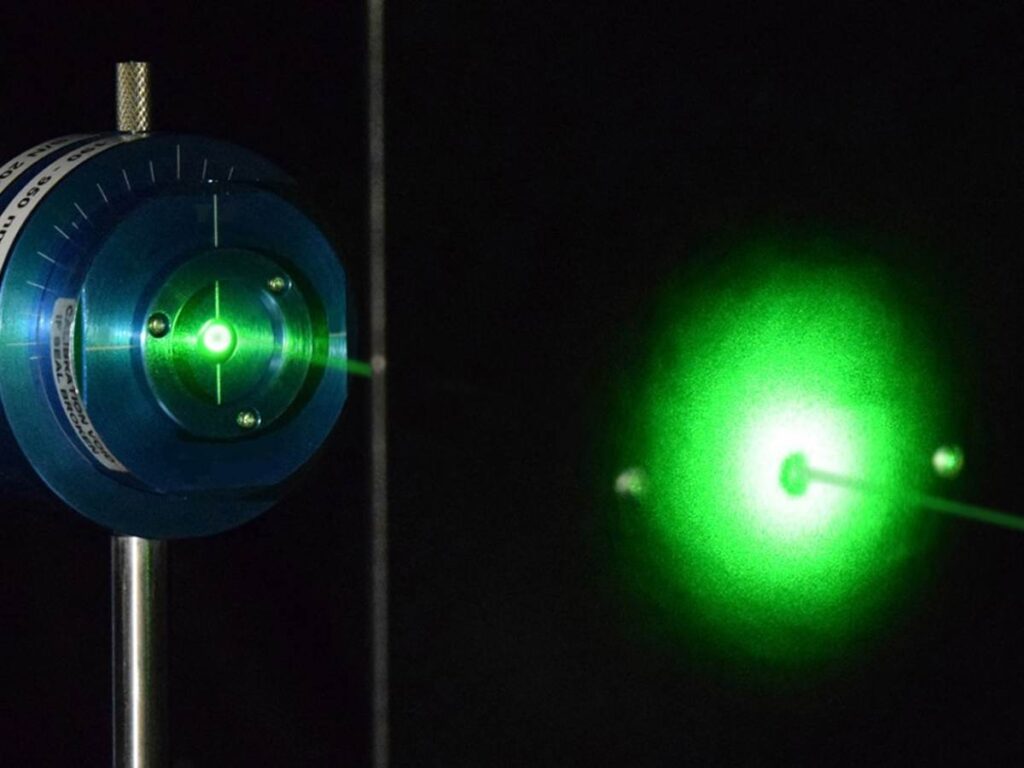
Laser Testing includes three techniques, Holography, Shearography and Profilometry. As the method name implies, all three techniques user lasers to perform the inspections.
LM TECHNIQUES
Holographic Testing
Holographic Testing uses a laser to detect changes to the surface of a part as it deforms under induced stress which can be applied as mechanical stress, heat, pressure, or vibrational energy. The laser beam scans across the surface of the part and reflects back to sensors that record the differences in the surface created by that stress. The resulting image will be a topographical map-like presentation that can reveal surface deformations in the order of 0.05 to 0.005 microns without damage to the part. By comparing the test results with an undamaged reference sample, holographic testing can be used to locate and evaluate cracks, delaminations, disbonds, voids and residual stresses.
Laser Profilometry
Laser Profilometry uses a high-speed rotating laser light source, miniature optics and a computer with high-speed digital signal processing software. The ID surface of a tube is scanned in two dimensions and the reflected light is passed through a lens that focuses that light onto a photo-detector, generating a signal that is proportional to the spot’s position in its image plane. As the distance from the laser to the ID surface changes, the position of the focal spot on the photo-detector changes due to parallax, generating a high resolution three-dimensional image of the part surface that represents the surface topography of the part. This technique can be used to detect corrosion, pitting, erosion and cracks in pipes and tubes.
Laser Shearography
Laser Shearography applies laser light to the surface of the part being tested with the part at rest (non-stressed) and the resulting image is picked up by a charge-coupled device (CCD) and stored on a computer. The surface is then stressed and a new image is generated, recorded and stored. The computer then superimposes the two patterns and if defects such as voids or disbonds are present, the defect can be revealed by the patterns developed. Discontinuities as small as a few micrometres in size can be detected in this manner.
The benefits of laser-ultrasonic testing
– Non-contact and remote, allowing inspection of samples at high temperature, e.g. during welding with restricted access
Small and adjustable footprint
– Enables inspection of small and complex geometries
– High frequency capable of detecting very small flaws
– Laser beam scanning method for full coverage of inspection samples
Applications for laser-ultrasonic testing
– Industrial in-process measurements on hot, hazardous, remote samples which may be moving at high speeds
– High-resolution measurement of small parts
– Inspection of complex structures
– laser-ultrasonic projects involving the inspection of friction stir welds, laser material depositing and composite materials


