
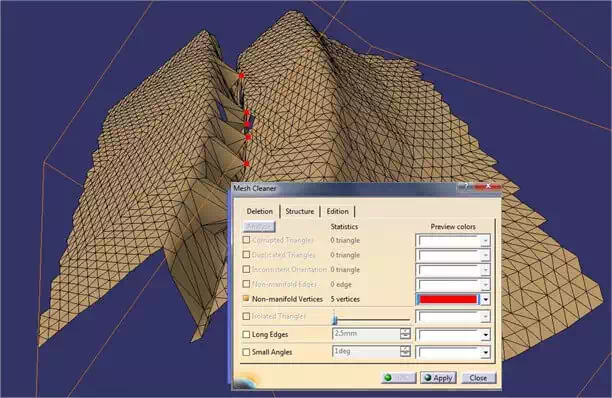
Automatic “Mesh cleaner” tool
Run a scan with the mesh cleaning tool, which notifies you of any non-manifold edges or points. If you are in the “suppression” tab, click “apply”. Errors are suppressed but can sometimes leave holes in your mesh.
Don’t hesitate to run several successive analyses since removing points / edges in the first analysis, can lead to the creation new points / non-manifold edges in a second analysis.
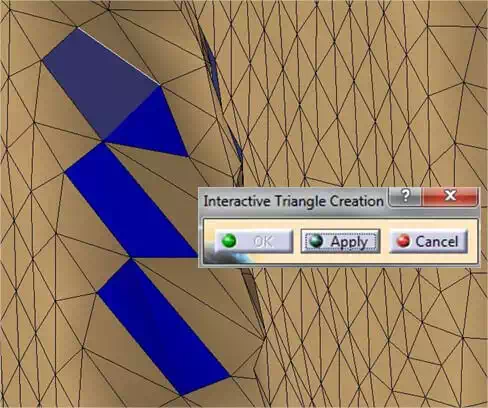
You can then fill using the tool “triangle creation” or “fill holes”. If the repairs are fast, use the tool for creating triangles, you will then have to click successively on two edges to form a triangle, which appear in a blue color on your mesh.
Manual cleaning : “Delete points” tool
If you want to manually repair errors, be aware that there is a “striking points” tool in the digitized shape editor workbench. You just have to click the point to delete it, and click “apply”. Points and their related edges will be removed.

In case there would be many holes, prefer the automatic hole filling tool

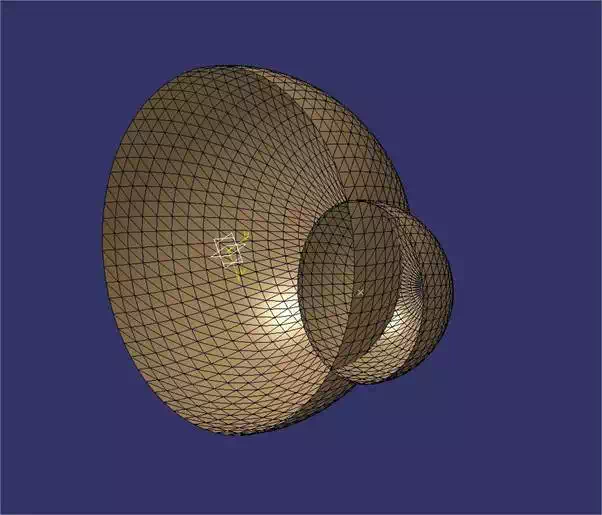
Self-intersections
Self-intersections do not generate problems for export, and conversion to STL can take place regardless. It is only when printing that trouble arises. You will need to make sure your surfaces do not overlap. The following tools will therefore help you to precisely select surfaces.
“Cut” tool
This tool has exactly the same features as the “activate” tool. The difference is that when you click OK after defining the area of interest, the latter is separated from the rest of the mesh. You then get a CutMesh.1 and CutMesh.2 tree that correspond to the selected area and the unselected area.
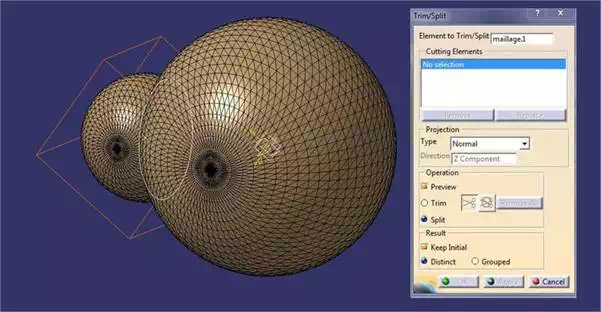
“Trim/split” tool
This tool is the same as the cutting tool in GSD. First selecting the mesh that has to be cut, then the cutting element (which may be a plane, a surface or another mesh). You now have two new elements in the tree. By checking “Overview”, a white line representing the cut appears on the mesh.
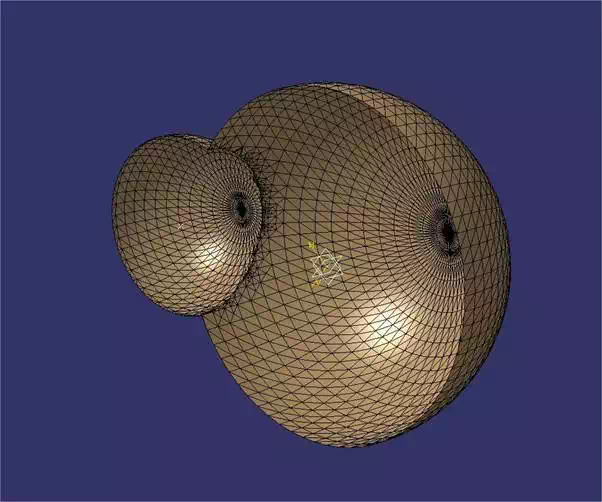
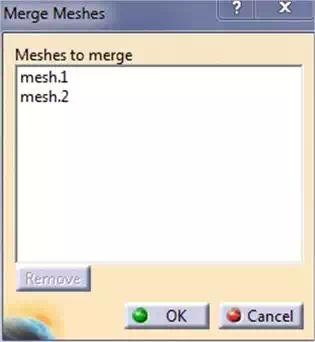
“Merge meshes” tool
This tool allows you to merge two or more meshes. It is useful when you want to, for example, assemble two meshes on which you want to make a cut or perform any cutting operations.
Multishell files
Multi-shell files are automatically handled by CATIA. You can choose to keep the different bodies at export, obtaining an .stl file for each body, or export a single .stl file containing all the bodies. In both cases, CATIA generates a file ready for 3D printing.
To repeat 3D prints (multiple copies of the same model), the most economical method, is to use the online Sculpteo tool which creates a series or batch (of at least 20 pieces), which will optimise the positioning and price of production.