
Although surfaces are not directly usable for 3D printing, it is possible to use surface modeling by converting all surfaces into volume bodies before exporting. Therefore it must be modeled with a view to create a body which can be converted into a solid.
For this you need to create a closed body with finite, seamless borders, paying special attention to the characteristic “watertight” mesh.
To better represent this idea, you have to imagine that the inside of the object is filled with water, which should not come out, regardless of orientation. The goal is to obtain a perfectly sealed body, “watertight”.
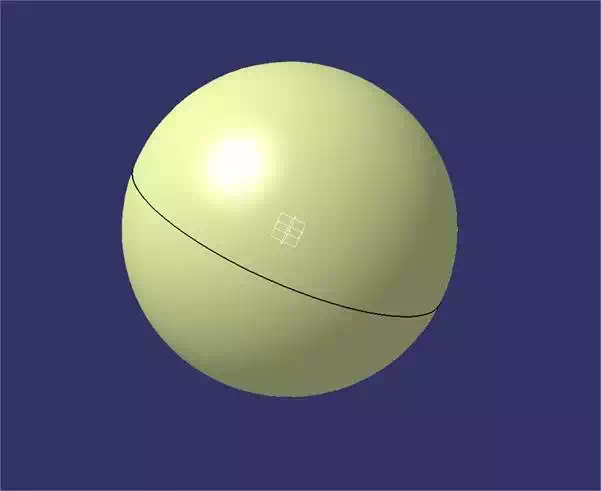
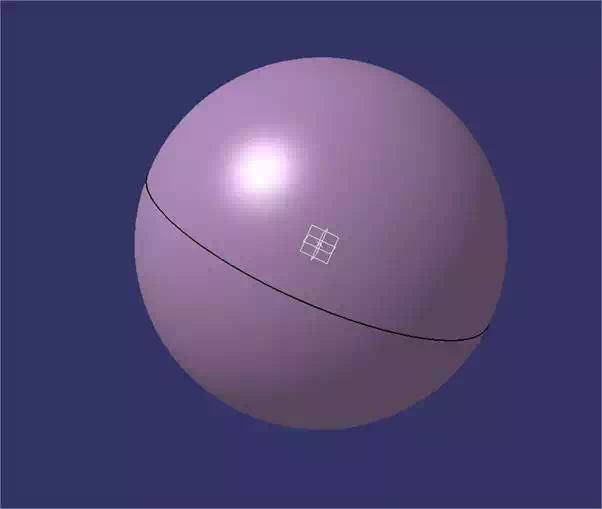
The set of functions that allows you to convert a surface body to a solid body are represented by purple icons.

In the case that your set of surfaces is a fully closed volume, you have to use the “fill” function that will automatically handle filling the inside of your surfaces. The yellow surface becomes a purple volume.
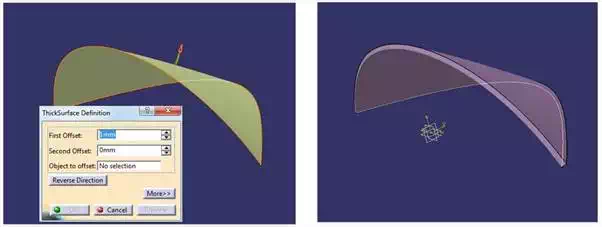
In case your surfaces are not a fully closed volume, you can use the “thick surface”. This feature will allow you to determine the thickness of your surface so that the latter can be physically printed. This tool offers you the ability to precisely control the size and direction of the thickness in question. Then consider recommendations with reference to the target material.
Finally, note that the GSD workbench offers a boolean tools panel to achieve the same Boolean operations as the Part Design workbench.