Useful tools
Before starting this chapter on repairing the most common issues when preparing your data for 3D printing, here is a description of some tools that will be useful later.
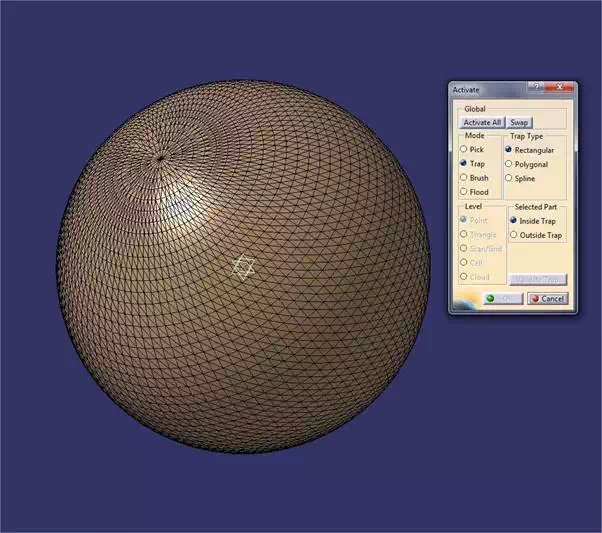
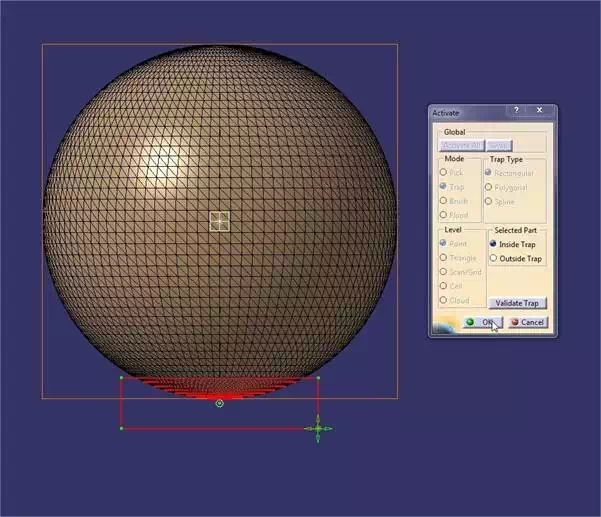
“Activate” tool
This tool allows you to select the mesh points you need to work on. You will be able to use conventional tools such as the selection tool or brush. The neighborhood tool lets you choose a whole part of a mesh, selected automatically by CATIA depending on your mesh geometry. Finally, the “pointing” mode will allow you to select items one by one, which is great for detailed touch-ups.
You can also choose to work at different levels: points, triangles, cloud, etc.
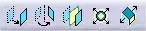
Translation / Rotation / Symmetry / Scale tools
You will find them in the “digitized shape editor” workbench. Their use is identical to the one you know in Part Design.
Heavy file
The size of the mesh depends directly on your export settings and of course the complexity of your model.
Some functions, such as the leave and text functions (based on a highly vectorized initial design) are particularly resource-hungry and will quickly increase the size of your exportedfile.
If your file is too large to be imported on Sculpteo, try lowering the level of detail specified in CATIA (or no arrow), or if your model incorporates many holidays / rounded or curved parts / sketches based on text or graphics vectorized, try to export in a more appropriate format for the file type, such as iges or step.
Overall mesh reduction
CATIA also provides a “decimate” tool, which reduces the number of triangles in the mesh. This tool should be used with caution, since reducing the number of triangles also reduces precision. This tool gives as much control as possible for the reduction of triangles, with several options: 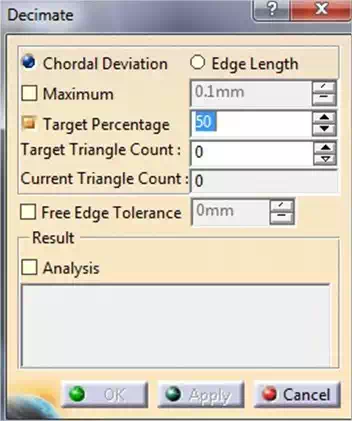
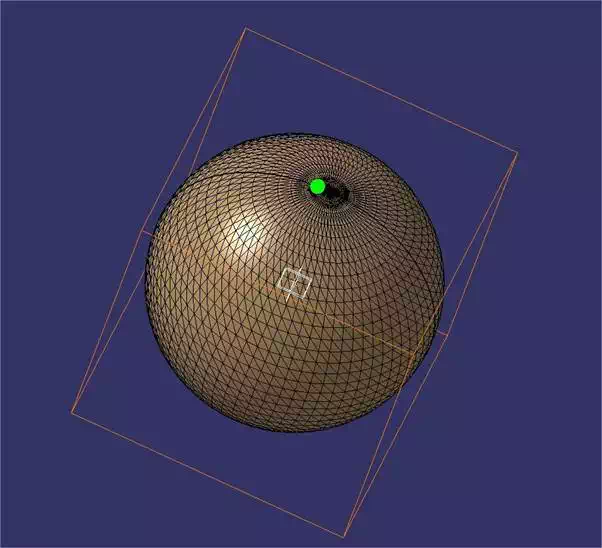
· Minimum length: This option allows you to keep maximum control while returning the minimum edge length you want. When you choose this option, a green sphere appears, allowing you to compare the size you selected with the size of your model. With this option, the edges whose length is greater than the value that you choose will not be changed, the mesh remains the same in non-affected areas.
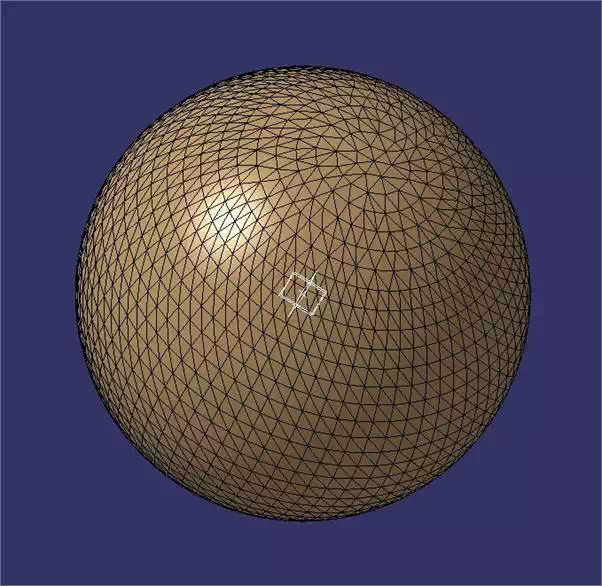
· Targeted percentage: This is quite a random setting to reduce density to a defined percentage of triangles. The reduction can therefore be very fast, but without much predictability of the result. The mesh is usually completely changed.
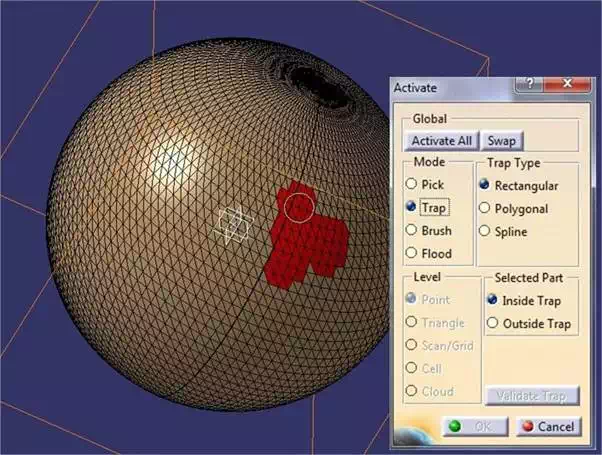
Local mesh reduction
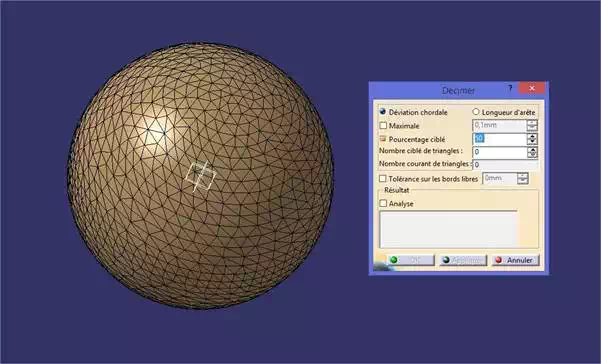
If you want to change only a part of the mesh, you can use the selection tool “activate”. It offers several selection modes such as the ones we mentioned previously (brush or hatch., trap…). Choose the mode that suits you, select the area to decimate, and click OK. Then apply the “decimate” tool on the active area as seen above.
To get back to the rest of the mesh, click the “activate” tool again, select the mesh you were just decimating, click on “swap” and finally click on “activate all.” You will then get a full mesh with locally depleted zones.