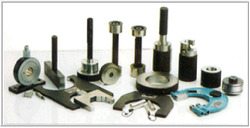
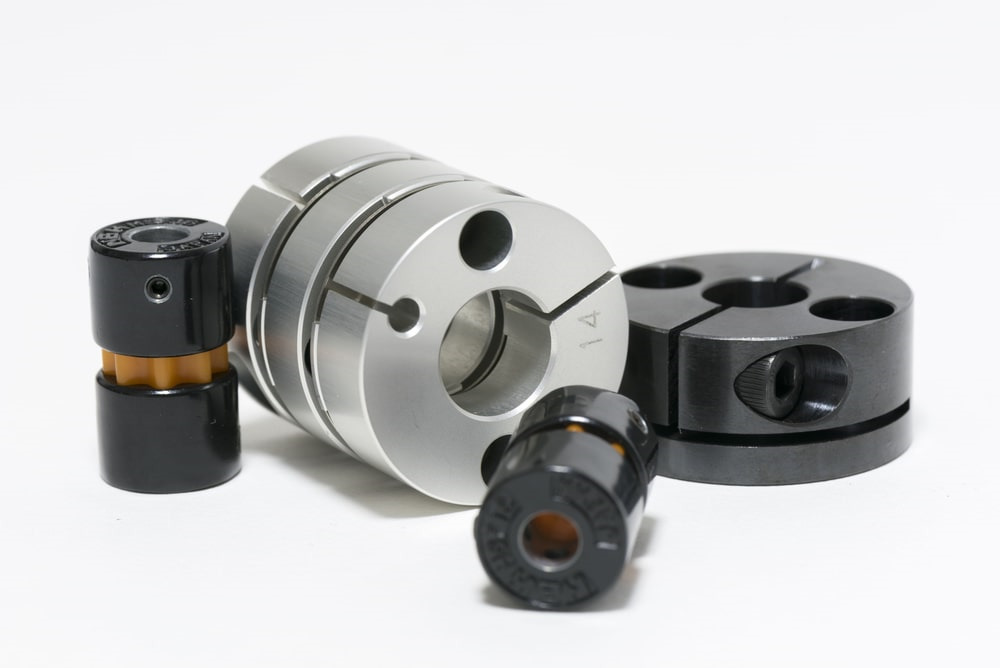
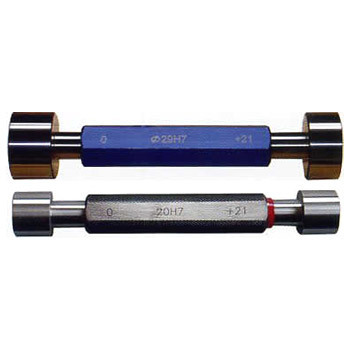
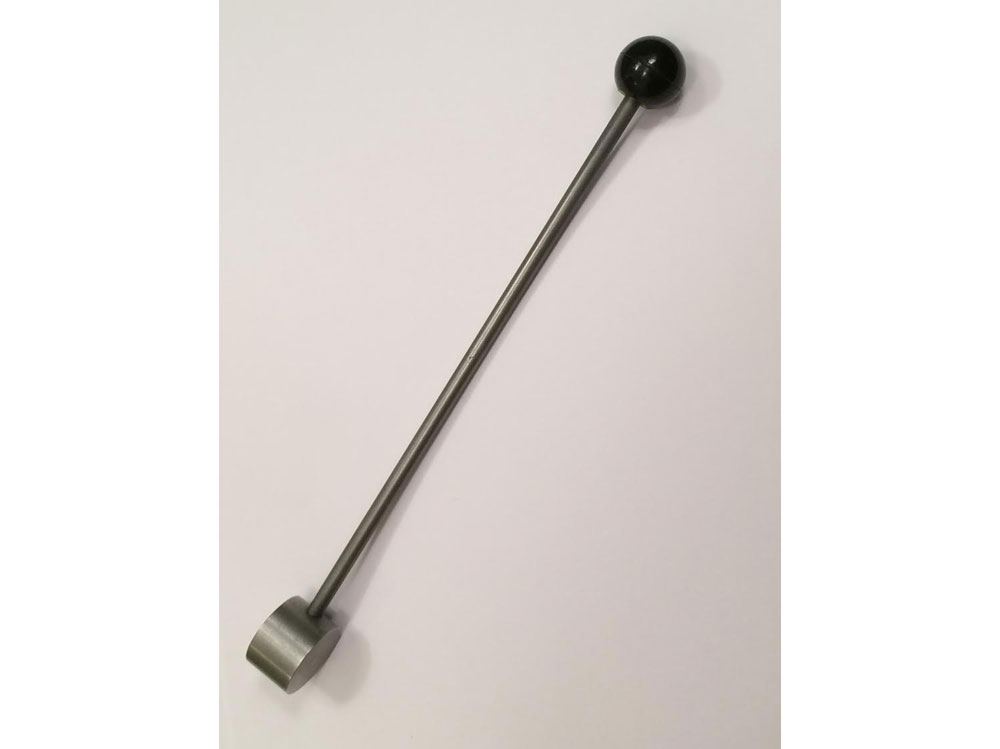
The various types of limit gauges used for gauging internal diameters of holes are: 1) Full form cylindrical plug gauge: The gauging surface is in the form of an external cylinder. Generally a small circumferential groove is cut near the leading end of the gauge and the remaining short cylindrical surface is slightly reduced in order to act as a pilot. 2) Full form spherical plug or…
Every gauge is a copy of the part which mates with the part for which the gauge is designed. For example, a bush is made which is to mate with a shaft; in this case, the shaft is the mating part. The bush is check by a plug gauge which in so far as the form of its surface and its size is concerned, is a copy of the mating part (shaft). Taylor‟s principle: According to Taylor, „Go‟ and „No Go‟ gauges should be designed to check maximum and minimum material limits which are checked as below: „Go‟ limit: This is applied to upper limit of a shaft and lower limit of a hole. „No Go‟ limit: This is applied to lower limit of a shaft and the upper limit of a hole. Taylor‟s principle states that the „Go‟ gauges should check all the possible elements of dimensions at a time (roundness, size, location, etc.) and the „No Go‟ gauge should check only one element of the dimension at a time. Based on Taylor‟s principle, „Go‟ gauge is designed for maximum material condition and „No Go‟ gauge is designed for minimum material condition.
These are inspection tools for rigid design, without a scale, which serve to check the dimensions of manufactured parts. Gauges do not indicate the actual value of the inspected dimensions on the Work. They can only be used for determining as to whether the inspection parts are made within the specified limits. These gauges are made up of suitable wear resisting steel and are normally hardened to not less than 750 HV and suitably stabilized and ground and lapped. The „Go‟ and „No Go‟ gauges may be in the form of separate single ended gauge, or may be combined on one handle to form a double ended gauge. Progressive gauge is the single ended gauge with one gauging member having two diameters to the „Go‟ and „No Go‟ limits respectively.
Cylindrical rollers with their lengths equal to their diameters may be used as gauges, secondary to block gauges (slip gauges). These are produced to fine tolerances.
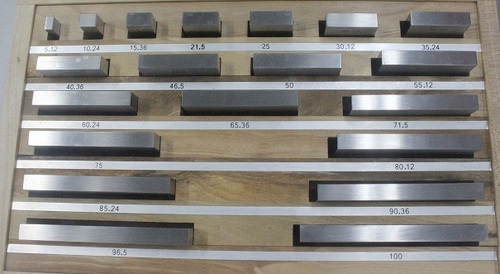
These gauges are otherwise called as Gauge blocks or Block gauges and are universally accepted as end standards of length in industry. Slip gauges are rectangular blocks of high grade steel (or tungsten carbide) with less co-efficient of thermal expansion. These blocks are highly hardened (more than 800 HV) through out to ensure maximum resistance to wear and are then stabilised by heating and cooling successively in stages so that the hardening stresses are removed. After hardening, they are subjected to lapping to a high degree of finish, flatness and accuracy. The cross sections of these gauges are 9 x 30 mm for sizes up to 10 mm and 9 x 35 mm for larger sizes. The dimension (height) is marked on one of the measuring faces of gauge blocks. Wringing of Slip gauges: The slip gauges are wrung together by hand through a combined sliding and twisting motion. The air gap between the gauge faces is expelled out and the adhesion is caused partly by molecular attraction and partly by atmospheric pressure. The gap between the two wrung slip gauges is only of the order of 0.00635 m which is negligible. Selection of Slip gauges…
It is a precision instrument employed to compare the dimension of a given component with a working standard (generally slip gauges). It does not measure the actual dimension but indicates how much it differs from the basic dimension (working standard). Uses of Comparator: For calibrating the working gauges Used as working gauges Used as final inspection gauges Essential characteristics of a good Comparator: Robust design and construction…