What is a coordinate measurement machine?
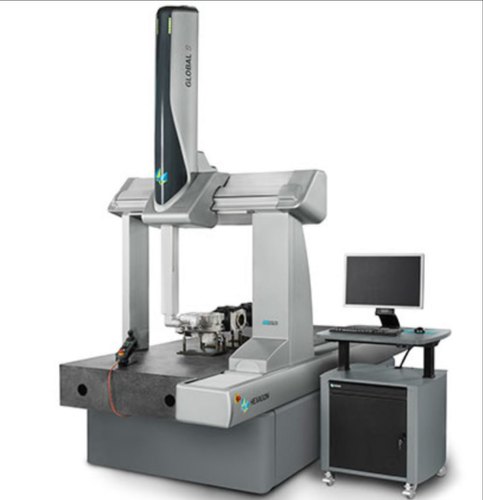
“A coordinate measuring machine (CMM) is a device for measuring the physical geometrical characteristics of an object.”
“Dimensional inspection is used in process control; its results adjust the parameters of
the manufacturing process to achieve the desired outputs. Computer controlled
dimensional inspection is typically performed with a Coordinate Measuring Machine
or CMM, which is a very precise mechanical system designed to move a measuring
probe to determine coordinates of points on a work piece surface. A CMM consists
of a workspace in which parts are fixed, a sensor for detecting the part surfaces, a
mechanical assembly for moving the part sensor around the workspace, and a
computer with software used in calculating the part dimensions based on the sensor
measurements.”
How does it work?
A coordinate measuring machine (CMM) works in much the same way as your finger when it traces map coordinates; its three axes form the machine’s coordinate system. Instead of a finger, the CMM uses a probe to measure points on a workpiece. Each point on the workpiece is unique to the machine’s coordinate system. The CMM combines the measured points to form a feature that can now be related to all other features.
The CMM’s dimensional capabilities generally includes position, roundness, perpendicularity, parallelism, flatness, angularity, profile of surface, profile of a line, symmetry, concentricity, straightness and datum quantification.
Who needs CMM testing?
Measuring the physical geometrical characteristics of an object allows for comparison to approved product specifications. Evaluations include first article and first piece evaluation and critical dimensional profile measurements. Determining if products meet specification requirements prior to production and/or shipment can reduce costly rework and delays later.
As noted, CMM testing can be performed on-site or in-house. Accuracy is a considerable factor with CMM testing, so many clients prefer to partner with a third-party (3PQ) rather than using equipment that may be on-site at the factory. The machines themselves vary where accuracy is concerned, but equally important is the experience and skill of the operator. “Incorrectly defining or failing to define a part alignment is the single most influential factor in gage repeatability errors and incorrect measurements.”
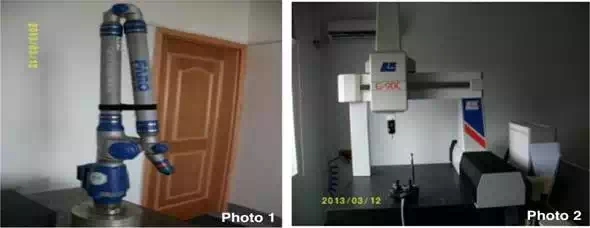
· Photo 1 – FARO’s ARM Portable
· Photo 2 – Fixed Bridge CMM – Measure range: 605*505*405mm – Accuracy: (2.5+4L/1000)um


