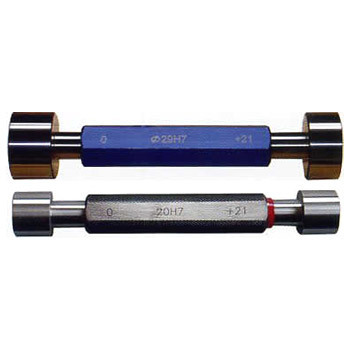
These are inspection tools for rigid design, without a scale, which serve to check the dimensions of manufactured parts. Gauges do not indicate the actual value of the inspected dimensions on the Work. They can only be used for determining as to whether the inspection parts are made within the specified limits. These gauges are made up of suitable wear resisting steel and are normally hardened to not less than 750 HV and suitably stabilized and ground and lapped.
The „Go‟ and „No Go‟ gauges may be in the form of separate single ended gauge, or may be combined on one handle to form a double ended gauge. Progressive gauge is the single ended gauge with one gauging member having two diameters to the „Go‟ and „No Go‟ limits respectively.


