Introduction 🌍🔋
Have you ever wondered how electricity is generated using magnets and coils of wire? An electromagnetic generator works on the principle of electromagnetic induction, discovered by Michael Faraday. This device converts mechanical energy into electrical energy using a magnetic field and a coil of wire. Building a simple electromagnetic generator at home is a fun and educational project that helps you understand the basics of electricity and magnetism. In this article, we’ll guide you step-by-step to create your own homemade electromagnetic generator using easily accessible materials.
Materials Needed 🧰🔧
To build your generator, gather the following items:
- Copper wire (thin, insulated, and flexible) 🧵
- Strong magnets (neodymium magnets are ideal) 🧲
- Cardboard or plastic tube (to wind the coil) 📦
- Iron nail or bolt (to act as the core) 🪛
- LED light bulb 💡
- Electrical tape 🧷
- Scissors ✂️
- Sandpaper 🪚
- Hot glue gun or adhesive 🧴
Understanding How It Works 💡🔁
An electromagnetic generator operates based on Faraday’s Law of Electromagnetic Induction, which states that a changing magnetic field induces an electric current in a conductor. When a magnet moves near a coil of wire, the magnetic field changes, generating a flow of electrons in the wire. This flow is what we call electricity.
Step-by-Step Guide to Building Your Generator 🛠️
Step 1: Create the Coil 🔄
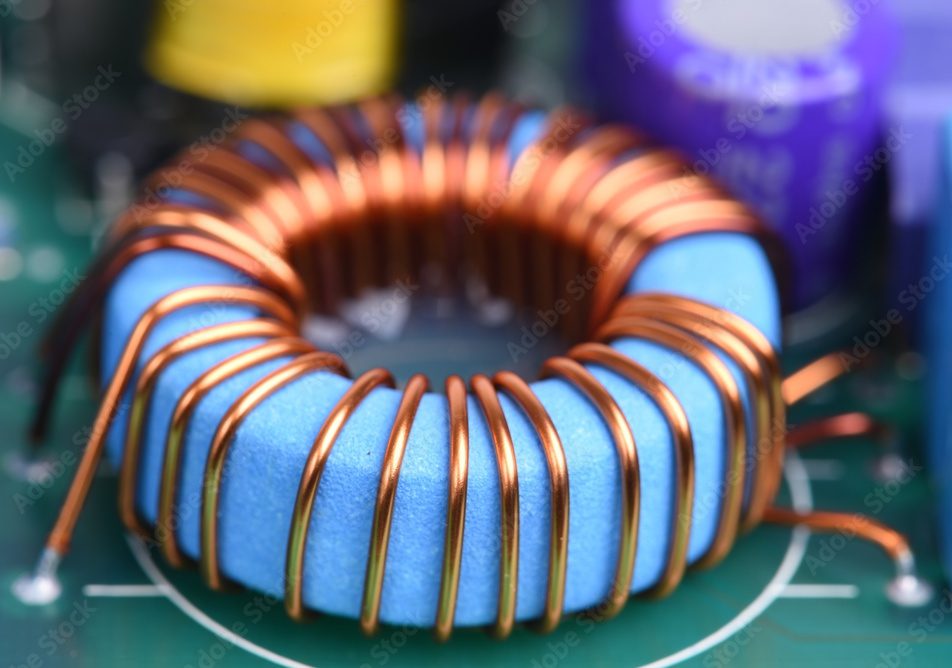
- Take the copper wire and wrap it around a cardboard or plastic tube to form a coil.
- Make at least 200-300 turns of wire to generate a sufficient electric current.
- Ensure the wire is tightly wound and the coils are evenly spaced.
- Leave about 6 inches of wire free at each end for connections.
Step 2: Prepare the Wire Ends ✂️
- Use sandpaper to remove the insulation from the ends of the copper wire.
- This exposes the metal, allowing it to connect with other components and conduct electricity.
Step 3: Insert the Core 🧲
- Place an iron nail or bolt through the center of the coil.
- This acts as a core, enhancing the magnetic field and increasing the electric current generated.
Step 4: Attach the Magnets 🧲🔁
- Secure strong magnets to a wheel or any rotating object.
- The magnets should pass close to the coil without touching it.
- Ensure the magnets can spin freely, creating a changing magnetic field around the coil.
Step 5: Connect the LED Light 💡
- Connect the free ends of the copper wire to the terminals of the LED light bulb.
- Use electrical tape to secure the connections and prevent short circuits.
Step 6: Generate Electricity ⚡
- Spin the magnets near the coil. The faster you spin them, the stronger the electric current generated.
- As the magnetic field changes, electricity will flow through the copper wire and light up the LED bulb.
Troubleshooting Tips 🛠️💡
- If the LED doesn’t light up, try increasing the number of wire turns or spinning the magnets faster.
- Ensure the magnets are strong and positioned close to the coil.
- Check that the wire ends are properly stripped and securely connected to the LED.
- Use a multimeter to measure the voltage generated and adjust the setup as needed.
Why Use an Iron Core? 🧲🪛
The iron core inside the coil amplifies the magnetic field, increasing the electric current produced. This phenomenon is called magnetic flux concentration, which makes your generator more efficient.
Real-World Applications of Electromagnetic Generators 🌍💡
- Power Plants: Large-scale generators power entire cities by converting mechanical energy from turbines into electricity.
- Wind Turbines: Use wind to spin magnets inside coils, generating renewable energy.
- Hydroelectric Dams: Use flowing water to rotate turbines connected to generators.
- Bicycle Dynamos: Small generators power bicycle lights using the motion of the wheels.
Safety Precautions ⚠️🧯
- Handle magnets with care, as they can pinch fingers or damage electronic devices.
- Be cautious when using tools and electrical components.
- Ensure the generator is built in a safe, dry environment.
Conclusion ✅⚡
Building a homemade electromagnetic generator is a rewarding experience that demonstrates the principles of electricity and magnetism. By following these simple steps, you can generate electricity using just a coil of wire and magnets. This DIY project not only enhances your understanding of science but also sparks creativity and problem-solving skills. So, gather your materials, start building, and watch your LED light up using the power of electromagnetic induction!


